Thursday, September 24, 2009

Loss Leaders and Budget Breakers

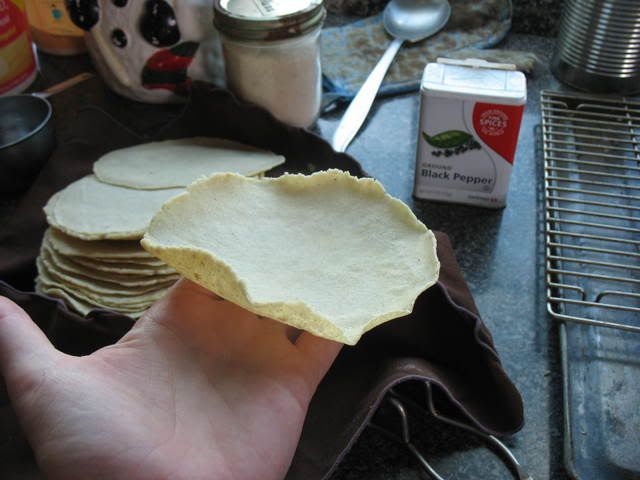
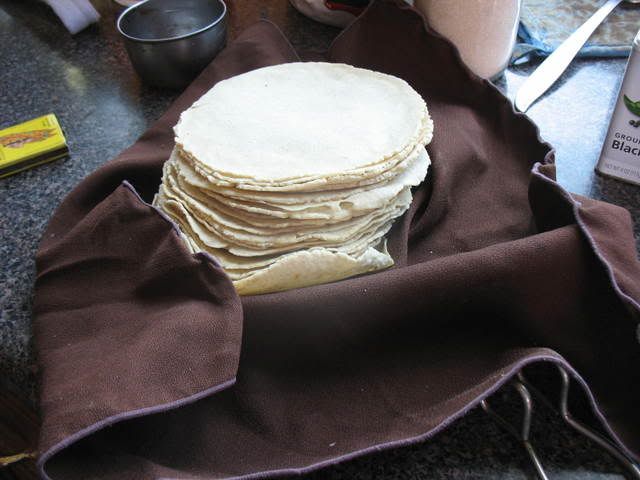
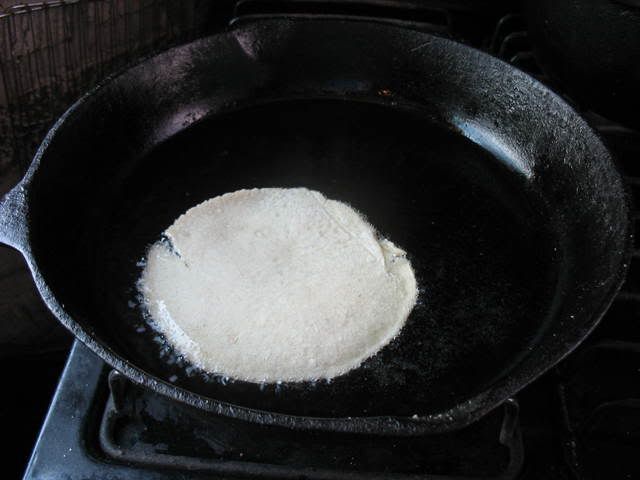
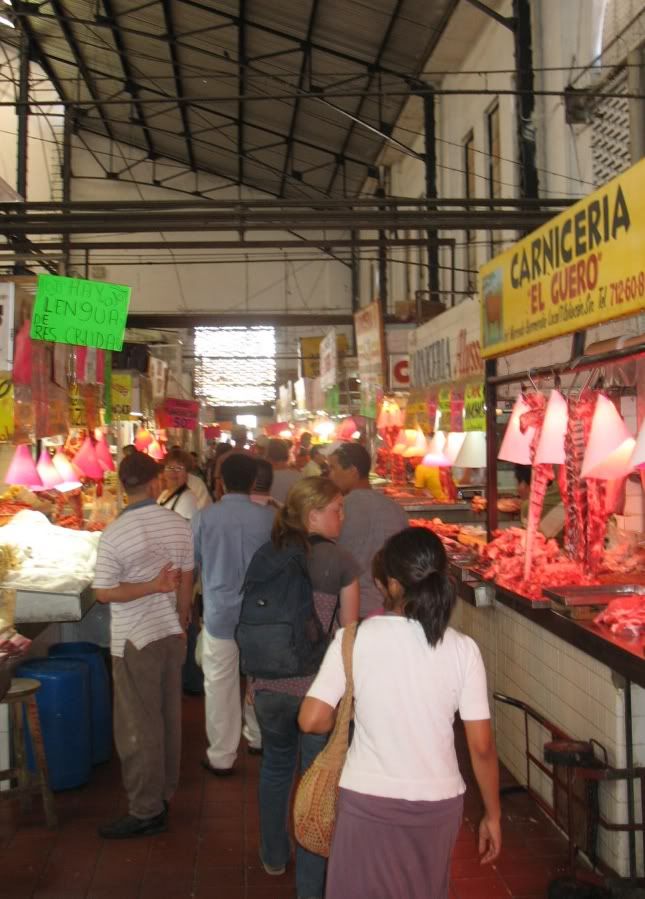
Shopping here in Mexico is a bit different than in the States. I'd never seen a market like this one in Culiacan, Sinaloa, prior to moving down here. The sights, the sounds, and the smells are, well, memorable!

One thing I really miss, though, are the weekly grocery ads. I used to love the coupons I could clip to get a $.25 gallon of milk with a $25 purchase or frozen juice concentrate at $.10 each (limit 10, of course). The stores here don’t have coupons, but I still manage to find great deals sometimes. The question comes up then, when is it really a good deal and when is it just causing me to overspend?

Loss leaders are those items the grocery store has put on the front of their advertisement page to lure you into the store. That 25 cent gallon of milk, for instance, is bringing you into the store not so that you will get a good deal on milk, but rather so that you will spend that $25 in their store. They know that most people who come in to the store to redeem that coupon will spend well over $25. If there’s an Oreo display right next to the milk, they’ll recoup their loss on the milk that much faster.

Budget breakers are basically any items which are not on your list. More specifically, though, budget breakers are generally not necessary – no matter how cheap they are. Potato chips, for example, are budget breakers. I’ve tried to explain that to my husband for years, and he’s beginning to understand…finally! Even when Pringles are on sale for $.99 and you’ll save $5 on 5 cans, I can still save you more by simply not buying any.

So, when does a loss-leader become a budget breaker? Generally, if it’s something that you would not buy if it wasn’t on sale, you ought to skip it. If the sale price still leaves the item more expensive than its generic equivalent, skip it. If there’s a way to make the item at home or to make a reasonable substitute for cheaper, skip it.

What’s the best “loss leader” bargain you’ve seen lately? What are some inexpensive snack foods you’ve found to replace the way-too-expensive-and-unhealthy potato chip?

Thursday, June 11, 2009

Using those left-over tortillas

One thing I've found to be extremely different, food-wise, in Mexico are the tortillas. You just can't beat a tortilla fresh off the griddle! When I make them here, the kids usually snag the first half-dozen as they come out and eat them either plain or with a little butter on them. Yummy!

The second day, though, corn tortillas here start to taste like the ones we used to buy in the States: pretty dry and prone to crack when you fold or roll them. If not used by the end of the second day, fresh corn tortillas are only good for pig food. Looking pretty sad!

So, since we don't have a pig, and I don't like to throw away good food, I've found a few ways to use tortillas which aren't as fresh as I'd like.

Now, I know that corn tortillas aren't as popular in the US as they are here. Nowhere near!!! There is no food in the States which compares to the popularity of tortillas here. It's almost like bread and butter in the midwest, but moreso because tortillas are served with every meal here. That leaves the potential for a whole lot of left-over tortillas!!!

One nice thing, though, is that large packages of corn tortillas are pretty cheap in the States and using these left-over ideas, you can make some quick-fix meals to throw in your freezer for a fraction of what you'd pay for the same pre-prepared food.

When you find corn tortillas on sale, or if the ones you bought fresh are seeming a little sad and tired, just throw them into your freezer in a plastic bag to save until you're ready to use them.

Here are some tortilla ideas. Click the link to go to the individual recipe (links will be added poco a poco!):

Quesadillas (pronounced kay-sah-DEE-ahs)

Tostadas

Taquitos (pronounced tah-KEE-toes)

Enchilada Casserole

Creole Casserole

Do you have a favorite use for corn tortillas? I'd love to hear it! I'm always looking for another recipe. Variety is a good thing!

Home-made laundry soap

Face it, our biggest grocery expenses are often NOT things we eat! Diapers, baby wipes, cleaning supplies, pet food, etc., all take big chunks out of our food budget (assuming, first of all that you have a food budget and second of all that you include non-food items as part of your monthly "grocery" expenses).

I've found a way to reduce my laundry costs to only a few cents per load...easily!!! In the States, I often made my own laundry soap using a recipe similar to this one from the Simple Dollar. As the writer of that recipe says, you'll reduce your laundry bill from $.30-$.40 per load to $.03-$.04 per load. Score!!!

I ran into a problem when we moved here. I couldn't find the necessary ingredients. Bar soap -- yes, no problem. Lots of that. Borax and washing soda??? No lo hay! (There ain't none!)

So I started experimenting and looking at what the nationals use. When we visit the States next time, I plan to check and see if this soap is available. I'll bet it is, if you know where to look!

Lirio.

At a cost of 8 pesos a bar (around 50 cents), you just can't beat this stuff. The ladies of the village here just use the bar as-is. Most of them don't have washing machines, so they just rub the soap on the clothes and scrub the clothes clean. I'm lazy. I have a washing machine. It usually works.

So, instead of rubbing the soap on the clothes, we experimented with some pre-made mixes.

Evie and a little friend, Ian, grated a bar of Lirio soap and I added some powdered oxygen boost stuff I found (NOTE: DON'T add water to Oxy-stuff. It foams uncontrolably!!!) and made a dry soap mix which could be easily added to the washer.

I had issues with the stuff not completely dissolving, though, so we continued to experiment.

Now, I think we have it perfected...

One bar of soap (grated)+ One gallon of water (mix well) = One bottle of laundry soap

I use about 1/2 cup of soap to a large load of laundry, so my cost is just under $.02 per load. Compare to a gallon of laundry detergent here (which I can't find for less than $10) and doing a load a day (which is low for our house!), I save $9 per month. I love saving money!!!

We find that we have to agitate the bottle a bit as it gets close to the bottom, because the soap wants to re-solidify. The washing soda and the borax in Simple Dollar's recipe will solve that problem.

Hey, if you find Lirio in the States, check the price and let me know! It will save me the search in August!

Tostadas

Summer time is a great time for get-togethers and youth hang-outs. Actually, I've found that youth like to get together and hang out pretty much all year long. And if youth are hanging out, they want to eat. Here's a great way to feed a large group on a small budget...and use up the leftovers you have lying around, as well!

The most expensive foods are convenience foods. Of course you know that if you've ever walked down the "Ready-to-Eat" aisle of the grocery store. Tortilla chips are cheaper than potato chips, but they can still be kind of spendy. Home-made tostadas and tortilla chips are easy and are about half the price of store-bought.

You'll need:

  • a package of corn tortillas, fresh or frozen.If frozen, try to knock all the ice off of them, as the ice crystals will cause the hot oil to jump up at you. Painful.
  • a rack or a collander to put the cooked tortillas into, in order to let the excess oil drip off
  • tongs to retreive your tostadas from the hot oil
  • a heavy skillet or deep-fryer
  • about a liter of oil, but possibly less, depending on how many tostadas you're making
  • salt

Pull your old tortillas out of the freezer and wrap them in a fuzz-free towel to thaw.

Day Old Tortillas

They may look a little ugly when you start, but that's ok!

Not pretty.

Heat about 1/4 to 1/2 inch of oil (or shortening) in your skillet to very hot, but not smoking. You can deep fry them in a fryer, too, but I don't have one...plus, that uses more oil. ;^)

Gently slide the tortilla into the hot oil. Use your tongs to flip the tortilla. The longer they cook, the crispier they'll be. The ideal ones are lightly browned on both sides without turning black on the edges. Add more oil to the skillet as needed.

Under-done tostadas still taste fine, but are a little difficult to eat, since they stay chewy!
Fry in oil turning to lightly brown on both sides

Here are tostadas on a cooling rack and a cute little red-headed kid trying to snag one before lunch. Caught ya!

Place on rack or in collander over a plate to drip and cool

Add a little salt at this point, if desired. Perfect! Tostadas ready for topping or dipping! Would you rather have tortilla chips? Before frying, use a pizza cutter to cut the tortillas into triangles. Add salt before the tortillas are cooled so that the salt will stick.
Tostadas!

At this point, you decide how you'll use your tostada chips. They can be served with seviche (that's a very Sinaloan dish which you can read about over at Sarah's blog) or fresh salsa or topped with any of the following:

Red rice Refried Beans shredded cabbage or lettuce

  • Refried beans
  • Rice -- red, white or whatever you have on hand
  • Shredded meat
  • Shredded cabbage or lettuce
  • Radish or cucumber slices
  • Chopped tomatoes
  • Sauteed onions
  • Sour cream or plain yogurt

Serve with lime wedges and picante sauce. Voila! Supper is served!!!

Tostadas preparadas

Cheapskate note: Don't throw away that used oil left-over in your skillet! It's only been used once and is still perfectly good to use in frying eggs, sauteeing onions or meat or just about anything else. It will have a slightly "corny" taste, but why waste it??? Let the oil cool completely and then use a funnel to pour the oil back into an empty oil bottle. Be sure to write "USED" on the side!

Saturday, May 30, 2009

Sugar N Spice Coffeecake

Here's a family favorite. Nutritionwise, it's not very healthy. You can make it with whole-wheat flour and raw sugar, farm-fresh eggs and milk from the dairy. That will help, but the fact is when the recipe is basically half flour and half sugar, it's just not very healthy...but it certainly is yummy!!!

I remember as a little girl my mom would make this breakfast treat and the scent of cinnamon would permeate the house. This is Grandma Christenson's recipe, although I've tweaked it a bit. Would you believe that the original called for even more sugar? I think it's possible to have too much of a good thing!

On to the recipe! (Special thanks to Shari for the kick in the pants to get me going today!)

Sugar and Spice Coffeecake

2 1/2 cups flour
1 1/2 cups sugar (either brown or white)
1 tsp cinnamon
1/8 tsp. ground cloves
1/8 tsp. ground nutmeg

3/4 cup vegetable oil, melted butter or shortening

1 tsp. baking soda
1 tsp. baking powder

1 egg
1 cup milk, buttermilk, cream, plain yogurt or water

Step One:
Combine first 5 ingredients and mix well.

Step Two: Add oil to dry ingredients and stir until mixture is well-blended and very lumpy.

Step Three: Set aside 1/2 cup of the crumb mixture to use as topping. To the remaining mixture, add the baking powder and soda and mix very well. Lumps of baking powder taste terrible!

Step Four: Add egg and milk and mix just till egg is incorporated. Batter should be lumpy. Lumps are a good thing in this case!

Economy/Substitution Note:The original recipe called for buttermilk. When we have milk, we use milk. Otherwise, I make this with just water. If you do use buttermilk or plain yogurt, you might need to increase the sugar a bit (It depends on your taste preference. I think a cup-and-a-half of sugar is sufficient, but...). I've found that when milk is just not available, water works just as well in most bread recipes.

Step Five: Pour batter into a 9x13 rectangular pan and sprinkle the crumb topping over it. You may be tempted to reserve a little more than 1/2 cup for the topping. Don't do it. If you really want more crumbs of sugar on top, make a little extra in the first steps. Pulling out more than 1/2 cup messes up the ratio and the cake doesn't rise properly...and it doesn't taste too good either. This is the voice of experience talking!!!


Step Six: Bake in a moderately hot oven (350 degrees) for about 20 minutes.

Serve with hot coffee or cold milk. Sarah likes to drizzle cream over the top. This cake keeps well if covered with plastic wrap. The oil causes it to dry out if left uncovered. A single recipe will yield 12 3" square pieces. The recipe doubles well and can also be made in a jelly-roll pan to give thinner, smaller pieces (for your next ladies' brunch?).

While still hot, the cake will be very crumbly, but it will solidify as it cools, making it easier to cut and serve...although in our house, it seldom lasts that long!

Provecho!